
Understanding Family Law Family law is a branch of law that deals with issues related to family relationships. This area...
Read More


Building and Construction Lawyers in Sydney: Protecting Your Property Investments
In the vibrant city of Sydney, the construction industry plays a pivotal role in shaping the urban landscape. With a...
Read More

Top Benefits of Commercial Security Systems for Sydney Businesses
In today's fast-paced and ever-evolving business landscape, ensuring the safety and security of commercial premises is paramount. For businesses in...
Read More

How to Choose the Right Business Security System for Your Company
In today's fast-paced business environment, ensuring the safety and security of your company is paramount. With increasing threats ranging from...
Read More

5 Signs It’s Time for Tree Lopping to Protect Your Property
Maintaining a property involves numerous responsibilities, and one of the most crucial aspects is ensuring that the trees on your...
Read More

How to Select a Trusted Tree Removal Company in Your Area
When it comes to maintaining your property, tree removal can often be a necessary yet daunting task. Whether it's due...
Read More

Fast Flower Delivery in Longueville: Order Today
In the heart of Longueville, the vibrant culture and community spirit are beautifully complemented by the presence of stunning floral...
Read More

Longueville Florists: Perfect Bouquets for Your Loved Ones
Longueville Florists: Perfect Bouquets for Your Loved Ones Flowers have an extraordinary ability to convey emotions, making them the perfect...
Read More
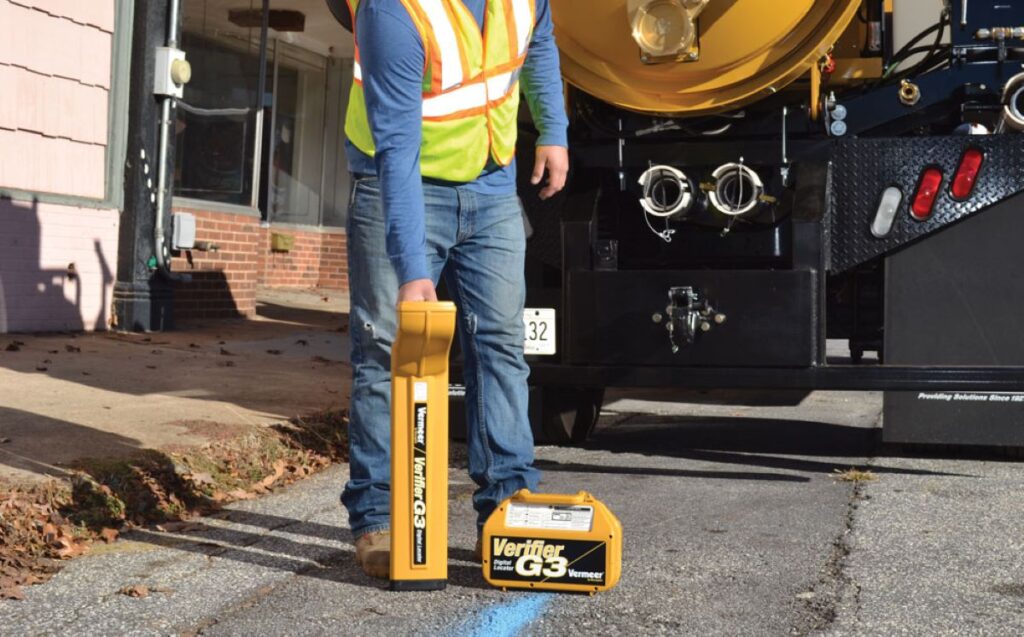
What Utility Inspection Reveals About Underground Risks
In the modern world, the infrastructure beneath our feet plays a crucial role in our daily lives, yet it often...
Read More
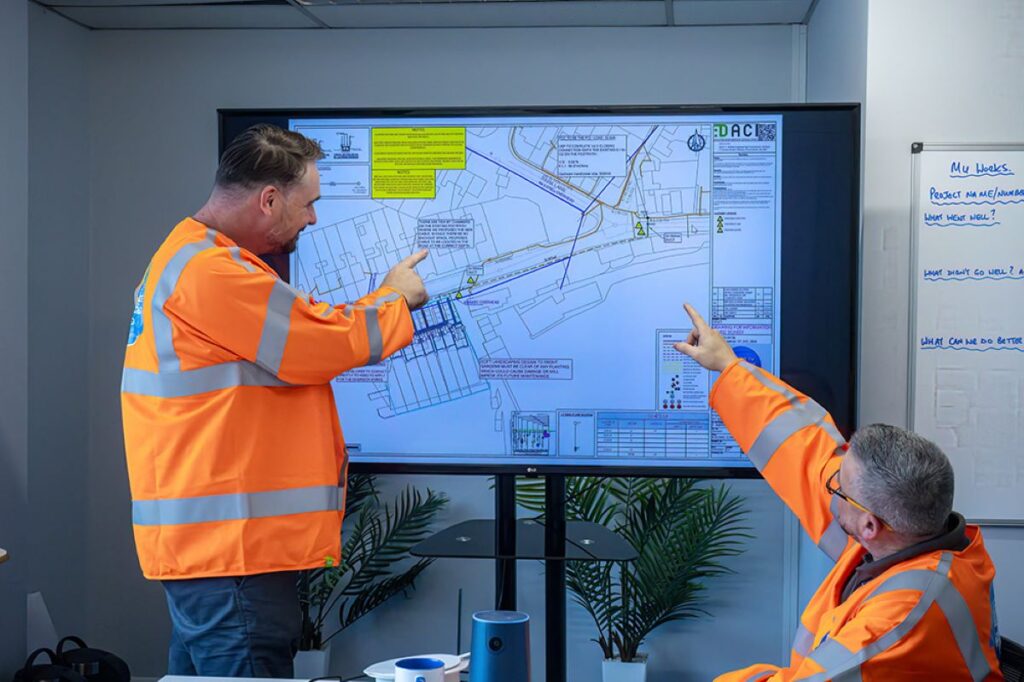
Utility Solutions for Accurate Infrastructure Planning
In the realm of urban development and civil engineering, accurate infrastructure planning is paramount. The complexity of modern infrastructure projects...
Read More

Tips for Sourcing the Best LVL Timber Formwork for Your Builds
In the construction industry, finding the right materials for your builds is crucial for ensuring the quality and longevity of...
Read More

Key Benefits of Using LVL Beams in Construction Projects
LVL beams, also known as laminated veneer lumber beams, have gained popularity in the construction industry due to their numerous...
Read More

Navigating Commercial Investments with a Specialized Buyers Agent
Investing in commercial real estate can be a complex and daunting process. From understanding the nuances of different types of...
Read More

Insider Advantages: Why You Need a Sydney Buyers Advocate in Today’s Market
In today's competitive real estate market, having a Sydney buyers advocate on your side can give you a significant advantage....
Read More
"Working with Best Smart Home Trends was an absolute pleasure. As first-time homebuyers, we were overwhelmed with the process, but our agent guided us every step of the way. Their expertise and patience made all the difference. We couldn't be happier with our new home!"

Mia Betty
"I had been searching for an investment property in Adelaide for months with little success. Best Smart Home Trends's team not only found the perfect property but also negotiated a fantastic deal. Their knowledge of the local market is unparalleled. Highly recommend their services!"

Timothy Goodman
"The team at Best Smart Home Trends went above and beyond to help me relocate to Adelaide. They provided invaluable insights into different neighborhoods and made sure I felt at home even before moving in. Their personalized approach and attention to detail are truly commendable."

Adam Stone